Shortcoder PRO supports WPML, allowing you to translate your shortcode content into multiple languages. If you’re using WPML to translate your posts or pages, the shortcodes created with Shortcoder can now display content based on the selected language.
Step 1: Enable Translation for Shortcoder Custom Post Types
Shortcoder PRO uses two custom post types:
shortcodershortcoder_editor
To allow WPML to handle translations for them:
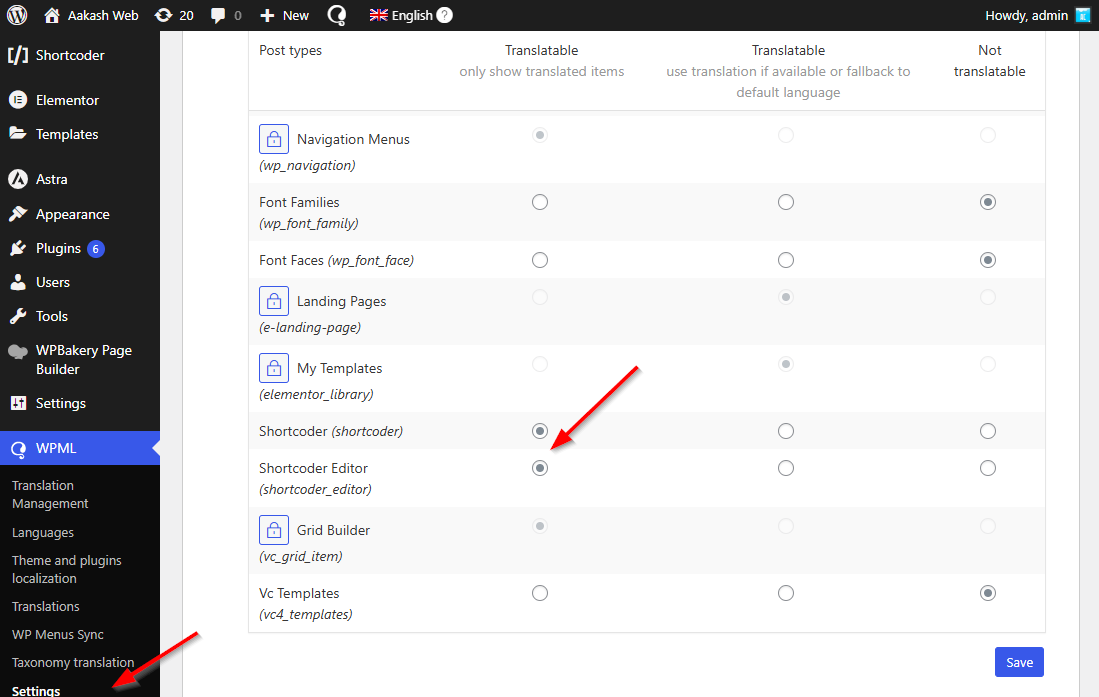
- Go to WPML → Settings.
- Scroll down to the Post Types Translation section.
- Find the post types:
- Shortcoder
- Shortcoder Editor
- Set both to “Translatable – only show translated items”.
Step 2: Translate a Shortcode
Once translation support is enabled, you can translate each shortcode just like any other post or page.
- Go to Shortcoder → All Shortcodes.
- Find the shortcode you want to translate.
- In the language column, click the “+” icon next to the language you want to translate to.
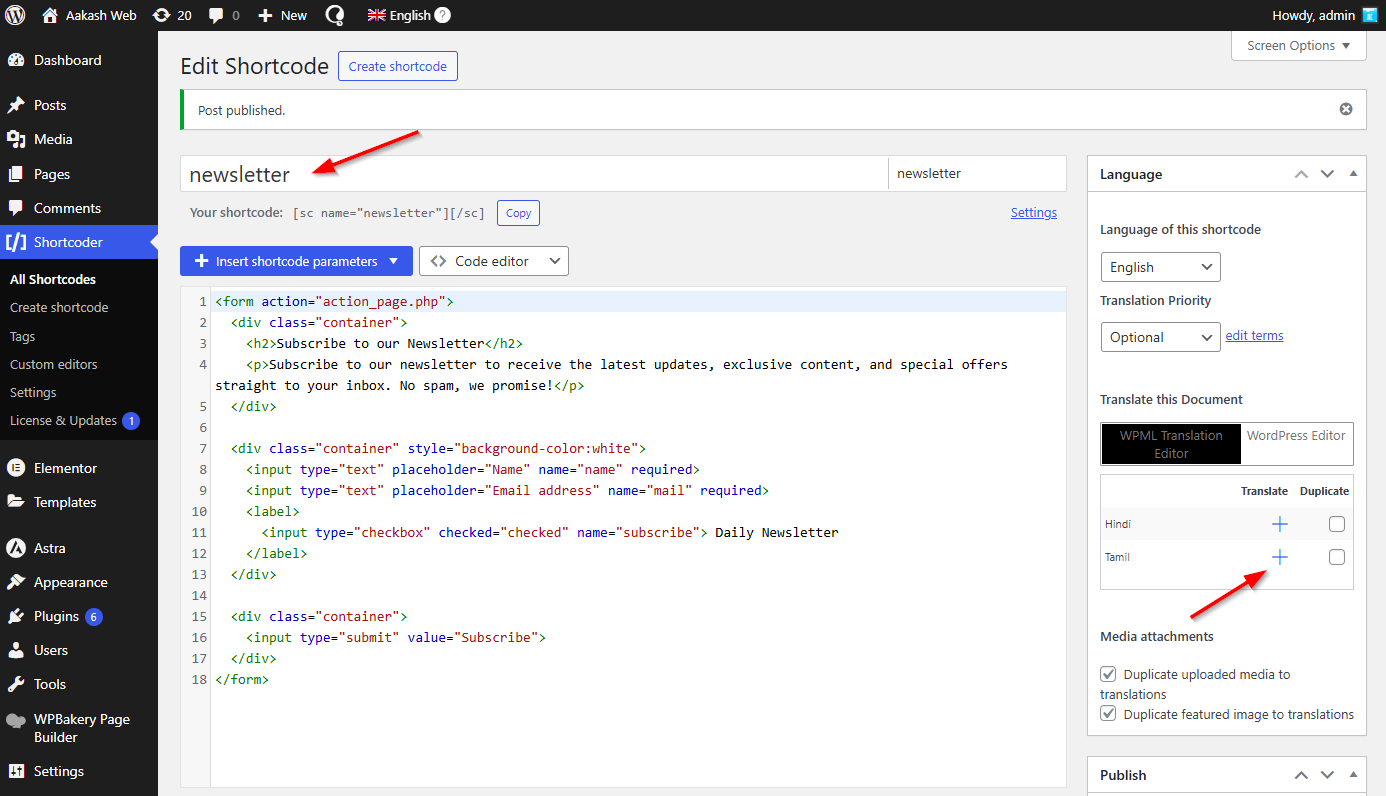
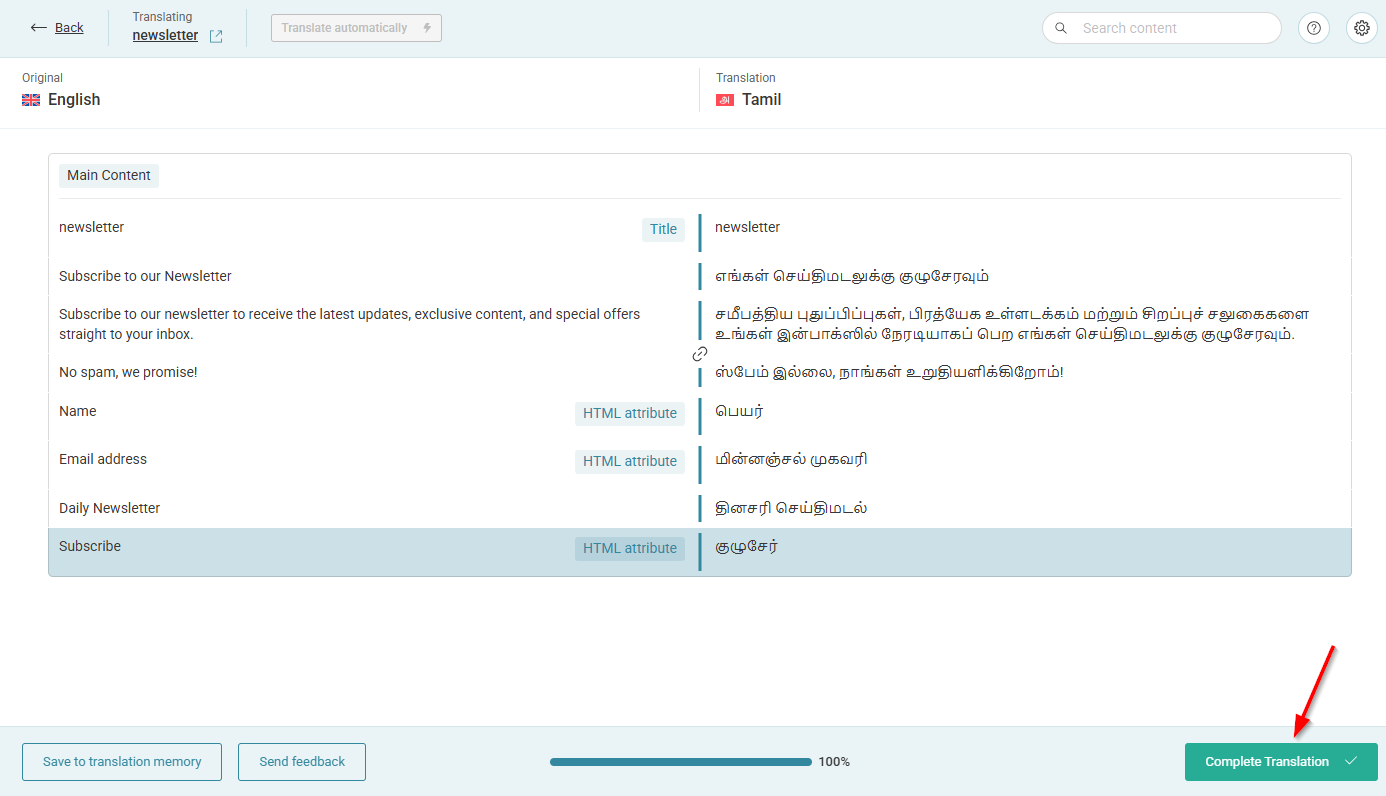
- Translate the shortcode content using WPML translation editor or using the WordPress editor.
Step 3: Use the Shortcode on a Translated Page/Post
You can now use the shortcode in post and pages like normal. Ensure the translates posts also have the shortcode in them.
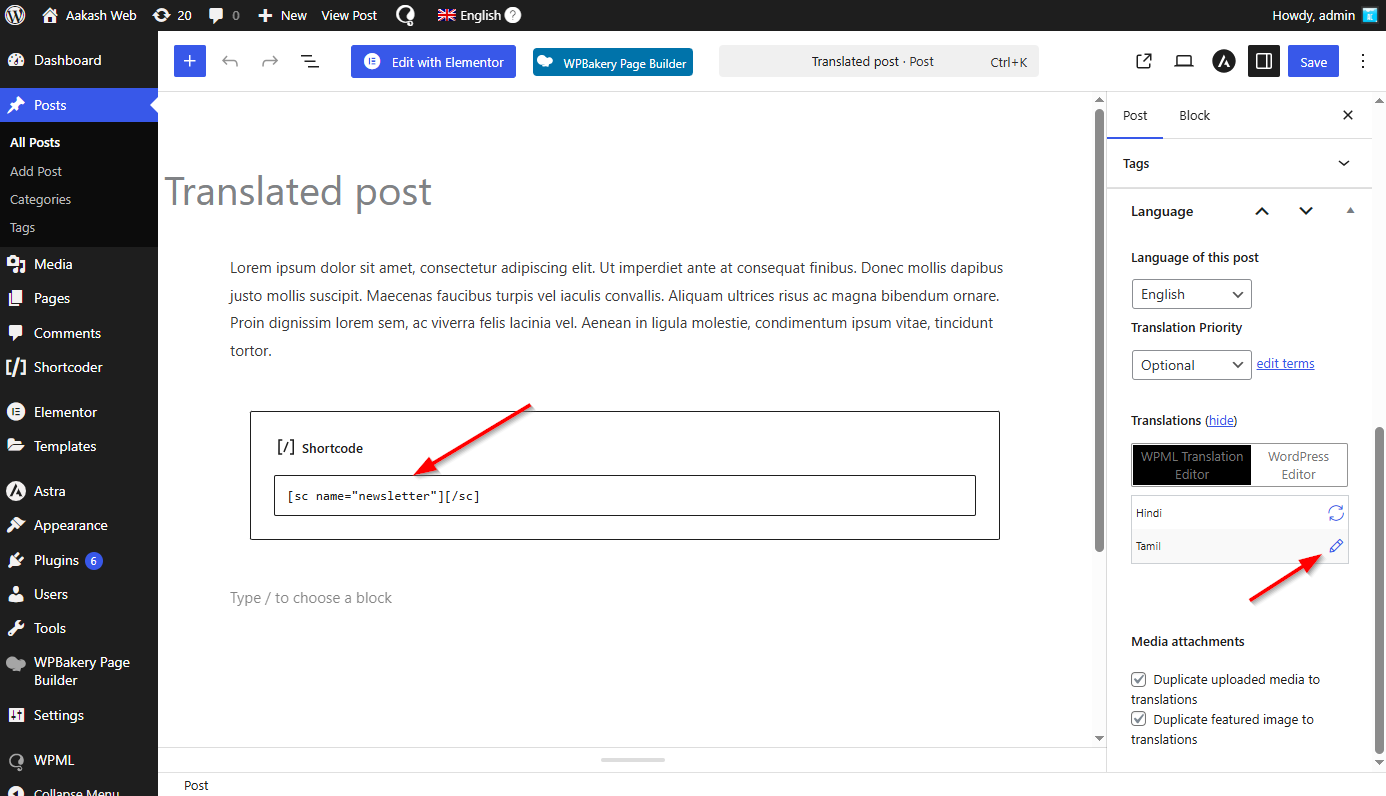
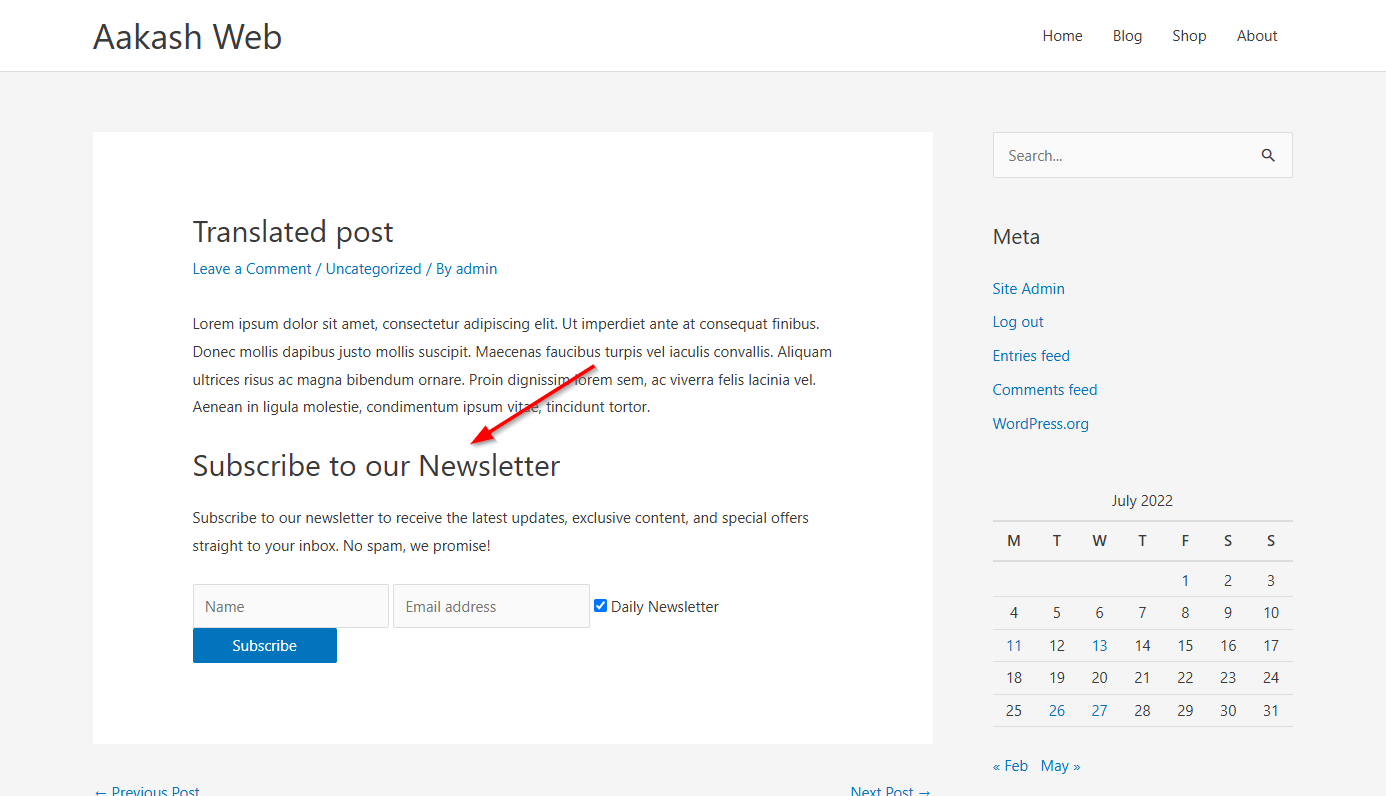
Below is a screenshot of the translated post with the shortcoder automatically picking the translated shortcode content.
